
Thursday, November 19, 2009
BLOG MOVE!!
yes, I know, after only a handful of posts, I'm having to move the blog. Not a great way to start. Due to some email issues associated with this blogger account, I've moved back to my old itsystitch blog site so please stop by!! :)
Thursday, November 5, 2009
inspiration...
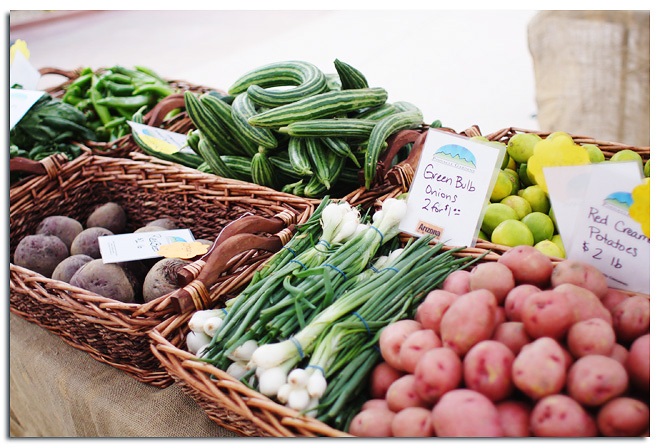
check out those cool, stripey armenian cukes! isn't "cuke" a fun word??
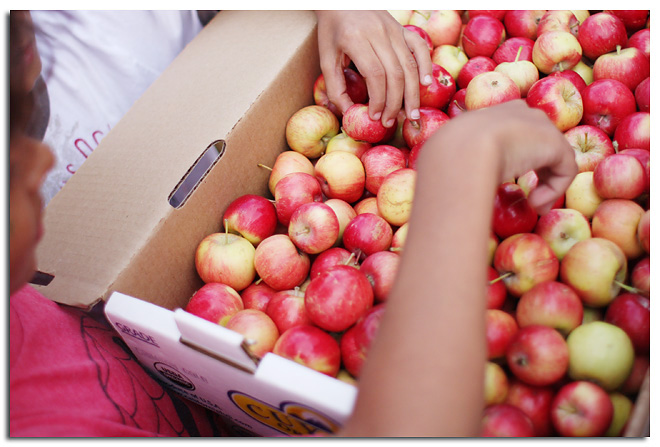
tiny apples!
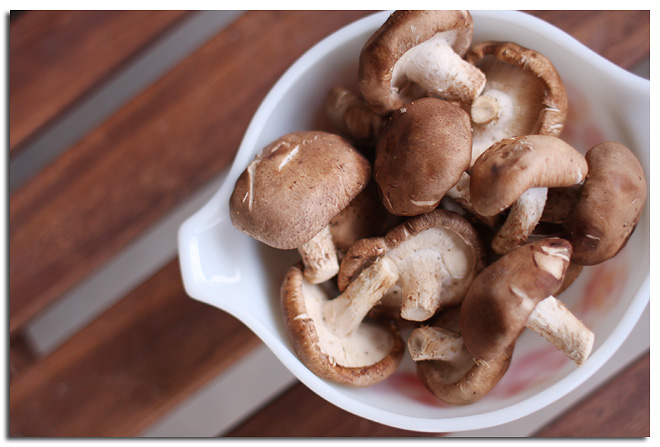
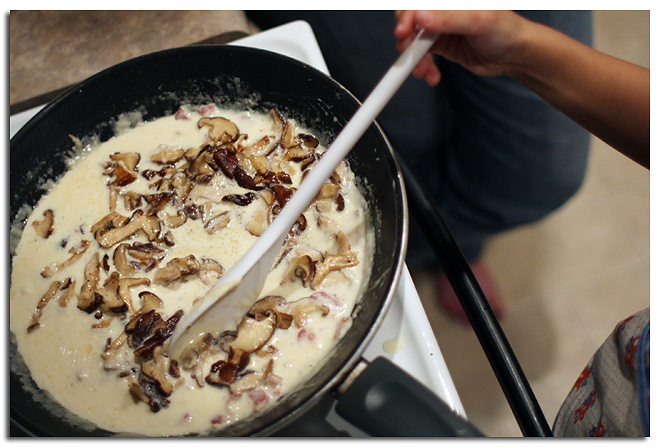
The Twilight Market did not dissappoint. We sampled tart, mini apples from Sedona, and bought some fantastic Sweet Cider! The boys and I were over the moon to see a local cheese vendor, selling fresh curds, cheddar, and jalapeno jack. And how cool that the milk used comes from local dairy farmers! The block of cheddar that left with us was milk a mere 24 hours prior. So awesome. Dinner inspiration came in the form of a bounty of fresh, local mushrooms. light fluffy, meaty, and flavorful. We sauteed them with a bit of butter, pancetta, and fresh garlic. Added some kosher salt, fresh cracked pepper, heavy cream, and fresh parmesan, tossed with linguine, and we had a fantastic dinner, featuring locally grown food.
Monday, November 2, 2009
Thank you Mr. Chicken
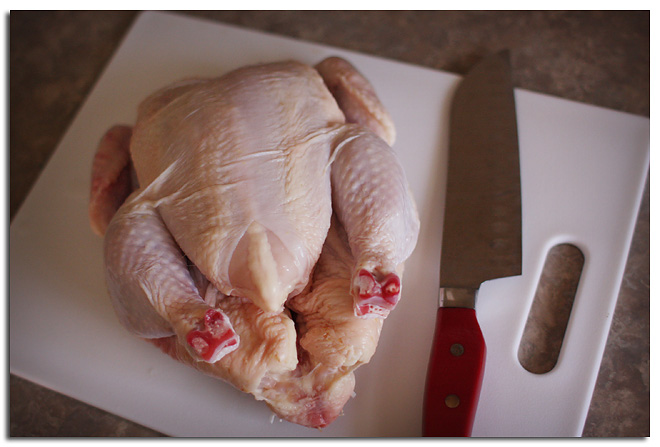
Thankfully, you can go to either foodnetwork.com or youtube.com and find a million and one great videos that show you how to cut up a chicken beautifully. I prefer the one by Alton Brown, he's so scientific about it, lol. My first attempt was a little sketchy, but in the end, all the pieces looked perfect except for one slightly anemic looking thigh.
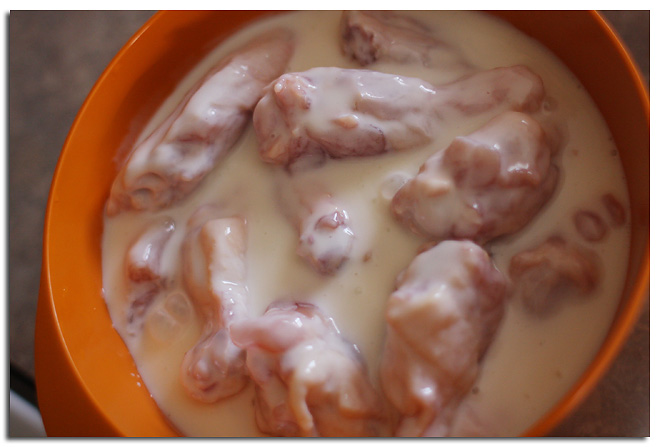
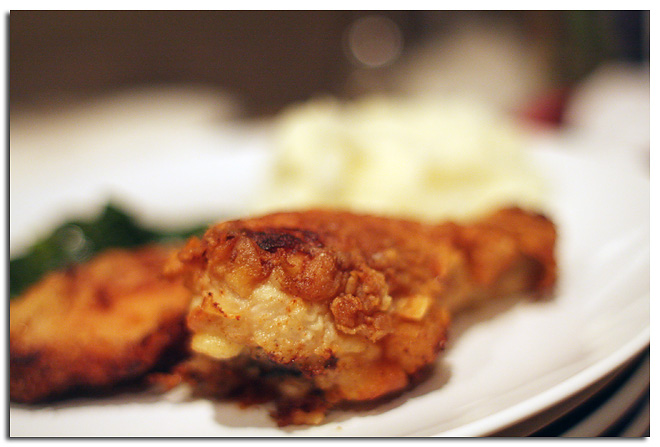
I don't really have a recipe per se, for fried chicken, but more of a method. I rinse, pat dry, and (now that I've learned) cut up the chicken, put it in a large bowl and cover it with buttermilk. I usually add some extra drumlets for the littles. Then it sits in the fridge, covered, over night. The next day, I pull it out of the buttermilk, and set the pieces on a large platter. The wet chicken gets a hefty dousing of kosher salt, fresh ground pepper, garlic salt, paprika, and sometimes cayenne pepper. Occasionally I may add lemon pepper, or seasoned salt, but usually just the basics. Coat both sides of the chicken, dredge in flour, and fry! I prefer the southern method of frying in (collective sigh...) shortening. It just makes a crisper fried chicken. The mistake I've made in the past, is to set my oil/shortening temp too high, thus burning the heck out of Mr. Chicken's skin before cooking the meat through. In my deep-fried brain, I just never thought that actual FRYING could happen on medium to medium low heat, but it does indeed! I found that about 10-14 minutes on each side (assuming you are cooking multiple pieces at once) on medium low heat works perfectly, occasionally upping the temperature when new pieces are added. Our favorite it to serve it with garlic mashed potatoes, and homemade collard greens.
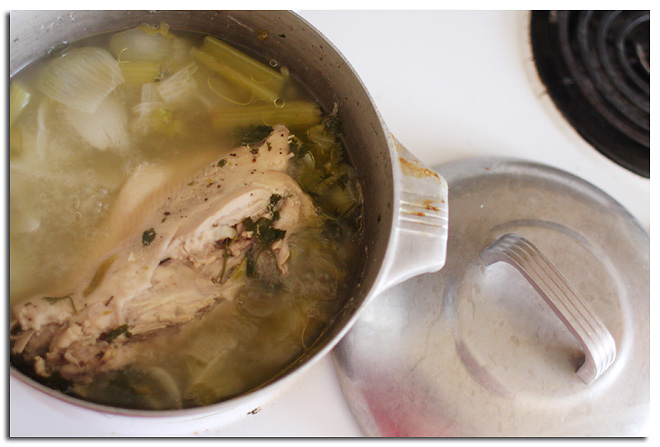
I ALWAYS use the leftover chicken pieces from cutting up the chicken to make homemade chicken stock. It's a great economical use for the leftover raw chicken bits, and it makes the house smell fantastic. Here's my very easy stock recipe...
In a large stock pot combine:
Leftover chicken (spine, breast bone, neck, giblets, etc)
1 roughly chopped carrot
1 clove of garlic, halved
1 bunch of celery leaves (I just cut off the top most portion of a bunch)
1 roughly chopped celery stalk
a handful of fresh flat leaf parsley
1 yellow onion, halved.
Fill your stock pot with water, and bring to a boil. You can skim any weird foam off the top if you wish. Reduce heat, cover, and simmer for 45 minutes on medium low heat. Allow to partially cool, strain, and store. I like to freeze it for later use.
Sunday, November 1, 2009
Halloween 2009
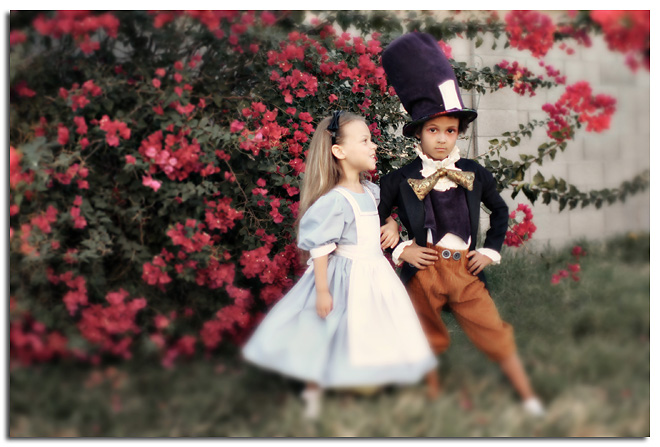
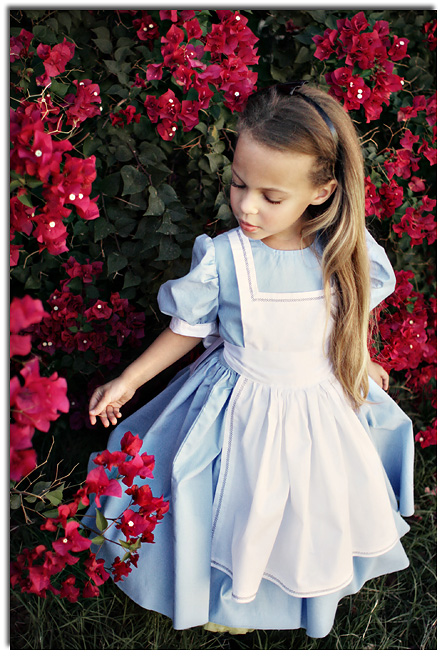
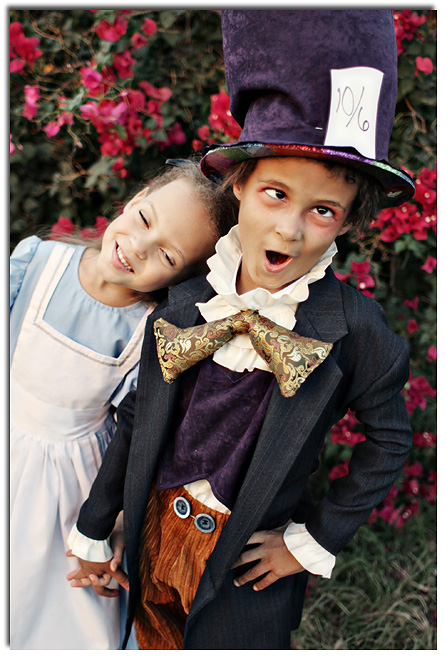
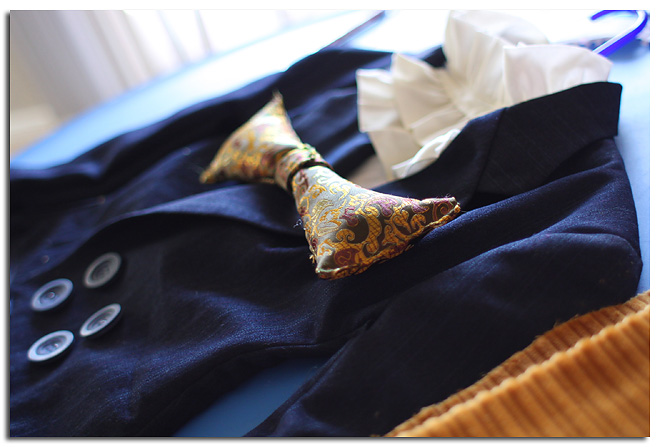
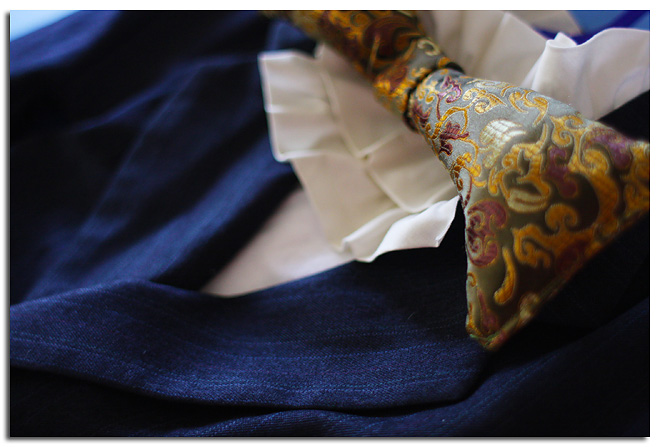
We decided to go more in the Tim Burton direction with the costumes and it was such fun! With all those gathers I really wanted Stella's Alice skirt to "poof", so we busted out her old pettiskirt and it worked perfectly! Maxwell begged for red under eye makeup "like the Tim Burton (aka johnny depp) version", because he informed me the mad hatter is crazy, and he gets tired from "being crazy all the time, plus drinking lots of tea keeps him up at night". He was the cutest mad hatter I've ever seen, and his costume had this weird chivalrous effect on him, and at one point, he carried Alice about 20 yards across a field that had just been hit by sprinklers, as "Alice" was having a breakdown at the thought that her dress might get wet. The moment was short lived and at the last stretch of the field they fell over and landed with a soft thud in a cloud of pale blue cotton, pettiskirt ruffles, gold corduroy, and purple velveteen. I thought Stella's head would explode when she saw the small water spots on her dress, but the mad hatter distracted her with the large stash of loot in her plastic pumpkin and all was well again in wonderland.
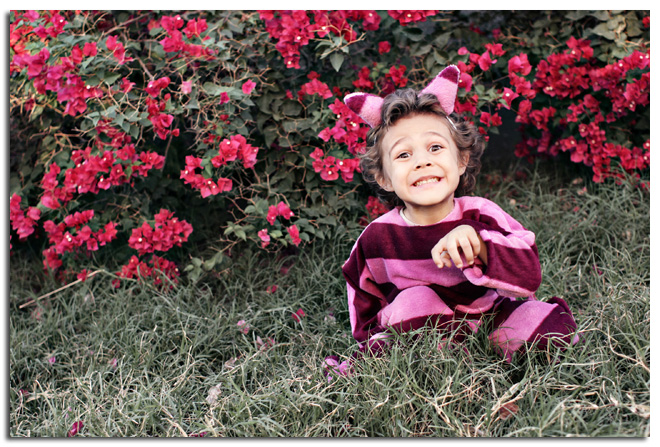
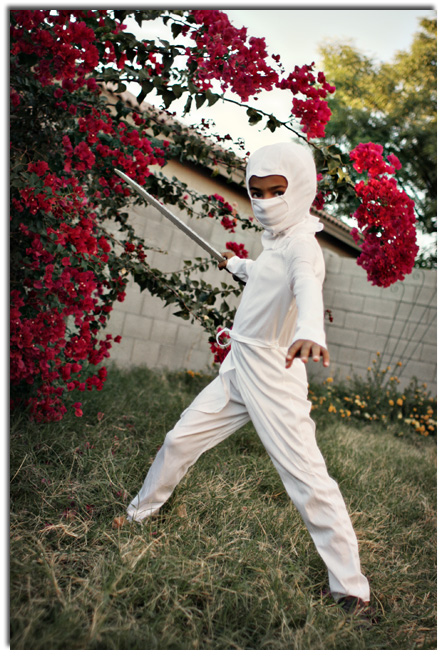
Ty went as the Cheshire cat, and I have to say, after all of the challenging toddler moments in the past year, this costume was my secret retribution. Ty loves to run around the house pretending he is "kung fu panda" or the "incwedible huwk", so seeing him meow in pink and purple stripes was quite amusing to us all. Javen, last but not least, was the stealthiest trick or treating ninja I have ever seen, and at few points, he was so into ninja sneakiness, that he stealthily (aka, accidentally) snuck right past the houses we were trick or treating at, forgetting to even stop for candy. :) Overall, the kids had blast, and were over the moon when people would recognize their characters. And might I add, after all my years trick or treating up north in 40 degrees, with wind, rain, sleet, and even snow, the 70 degree trick or treating we experienced here in Arizona was fantastic!!
Friday, October 30, 2009
fall sewing: part 2
You guessed it...Halloween. The kids usually try to adopt some sort of theme for Halloween, but there is always one dissenting voice in the bunch. For example, the year we did the Frankenstein theme, Stella was the bride of Frank, Javen as the man-made man himself, Max was Dr. Frankenstein, and Caleb was...Jango Fett. He insisted. He HAD to be Jango Fett. Nothing in the Frankenstein lineup would quite suffice. Then was the year of the Nintendo costumes. Stella was Princess Peach, Javen and Max were the mustached duo, Mario and Luigi, Caleb was a spectacular Link, from Legend of Zelda, and Ty was...Jak-jak from the Incredibles. See a pattern? One dissenting voice. Okay, so that year didn't entirely count, since it was Momma who broke down and bought baby Ty his Incredibles costume, after sewing Mario, Luigi, and Link, I'd had enough of the sewing machine that year.
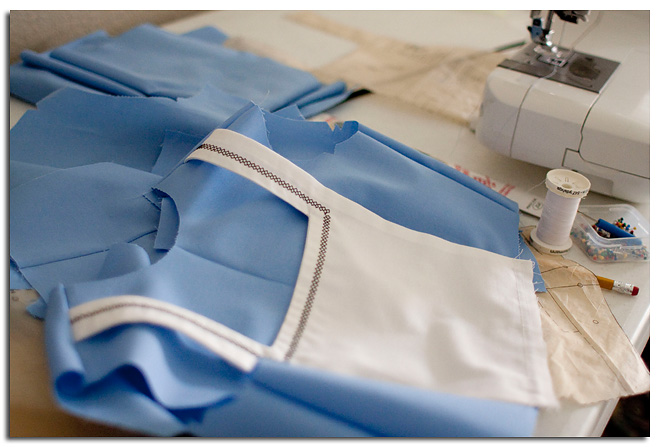
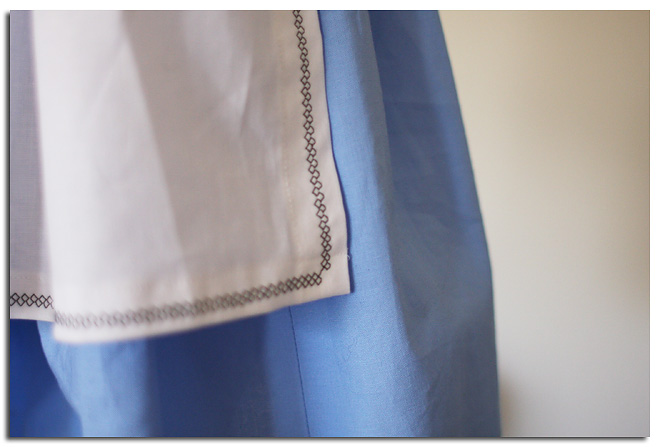
Fast Forward to this year. Caleb is in Michigan with his dad, and has become to much of an almost teenager to trick or treat, in his words, not mine. Stella picked the mother of all Tim Burton-esque themes, Alice in Wonderland. I was beside myself, I had it all worked out, Stella would be Alice, Ty would be the White Rabbit, Javen would be the Mad Hatter, and Max would be the Cheshire Cat. Well, all heck broke loose when that was discussed. First off, Javen wanted no part of the theme, unless the Mad Hatter could carry a ninja sword, then decided to opt out all together to be A GI Joe Ninja, Max then refused to be the cat, and was basically flat out mortified I would even suggest such a thing because the cat "has pink stripes!!!" so Max was bumped up to the role of Mad Hatter, Stella of course, was still beside herself to be Alice, and momma talked the unsuspecting 3 year old into being the Cheshire Cat and wearing the infamous pink stripes. All is well, and the sewing is nearly done!! I should work as an international mediator.
Stella's Alice costume was sewn with McCall's 4948, but the Mad Hatter is a combination of thrifted, recycled items, and Momma's imagination. :)

Monday, October 26, 2009
fall sewing: part 1
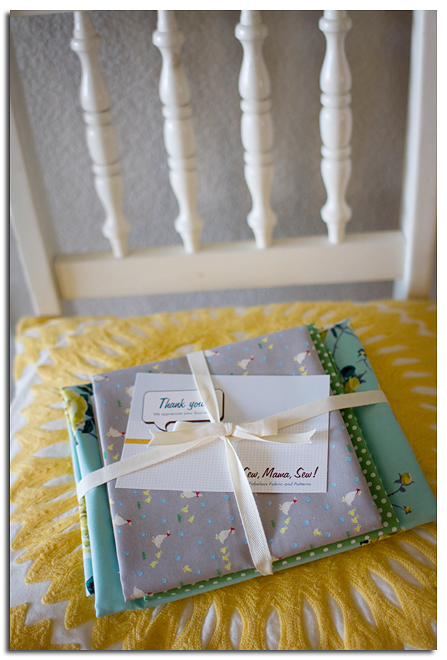
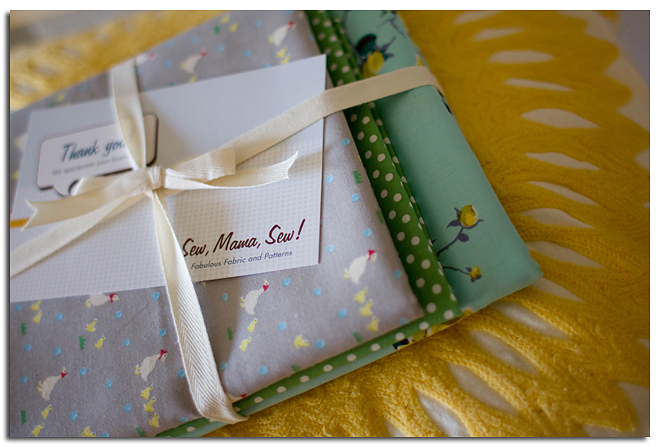
I do miss those crisp, cold Midwest Autumn days. Piles of crunchy leaves, the brisk smell in the air, bundling up in hats and sweaters. In Arizona there's a different smell in the air, and ironically, it reminds me of spring! The blistering hot sun has mellowed into a beautiful, inspiring sort of warm. Cool evenings, and soft winds. A new kind of Autumn to be sure! Never the less, the Littles have adjusted to the desert warmth, and days in the 60's and 70's do indeed feel a bit chilly to them, and trips to the snowy mountains up north will be an imperative part of our Holiday season. So, fall sewing and crafting will in fact persevere, much to my delight! I rounded up some fabric from my stash, and then filled in the gaps with a little virtual shopping trip to Sew Mama Sew. I'm so in love with Kelly green, always have been, so some Lecien dots in a happy green was a must, and my color of the moment (albeit a very looooong moment) is grey, so I picked the Minny Muu Mother Goose in soft grey shade too!
Sunday, October 25, 2009
comfort...

Fall is all about comfort. Cooking, crafting, knitting, even when I'm working my photography tends reflect more of a seasonal warmth. So I thought I'd share a basic, comforting recipe...biscuits. Warm, savory, buttery, wholesome biscuits. Ah yes, that beautiful aroma that fills the house while biscuits are puffing up in the oven is incomparable. Second only to the smell of bread dough rising on the windowsill. I love making the kids biscuits and gravy during the cooler months, usually for an easy Sunday breakfast. I've tried so many biscuit recipes, but this one is my favorite. It's a slightly modified version of a recipe I found by Alton Brown awhile back, the kitchen-science guru. It's held up against many other, far more complicated recipes.
preheat your oven to 450 degrees
Ingredients
1 1/2 cups AP flour
1/2 cup whole wheat flour (for added texture and nutritional value)
4 teaspoons baking powder
1/4 teaspoon baking soda
3/4 teaspoon salt
2 tablespoons butter (chilled and cut into pieces)
2 tablespoons shortening (you may also chill if you wish, the colder the fat, the flakier the biscuits)
1 cup buttermilk, chilled
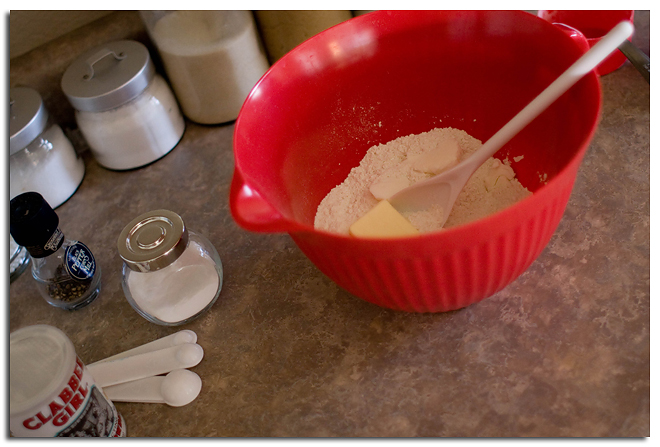
Mix the first 5 ingredients together in a bowl (the dry ingredients).
Add the chilled butter and shortening to the flour mixture. Use a handheld pastry blender to mix in the butter and shortening until it feels somewhat chunky and crumbly, kind of like pie crust. Stir in the buttermilk until the dough is completely moist and sticky, but don't smash up the small bits of butter and shortening. These are imperative to a nice flakey biscuit. You may press these out onto a lightly floured surface and use a round cutter if you wish, but I prefer to take a golf ball sized amount of dough, and just shape them a bit, and lay them on a cookie sheet that's lightly greased. Using this method I usually get about 10 biscuits. Bake them for about 12-15 minutes, or until they are light golden brown. Allow them to slightly cool, and consume!!
Subscribe to:
Posts (Atom)